This post on how to create professional graphics for your online shop has been sponsored by BeFunky and compensation was received for my time in developing the post. All thoughts, ideas & opinions are my own.
You’ve got something great to sell, you’re starting to set up your online shop and you run into this roadblock: how to create a shop header that looks as good (or better) than your competitors? Not to mention social media headers, graphics, and Pinterest art.
This is the point when many people fold and walk away from launching their shop. They don’t have the right software, and they don’t know what they’re doing. But not you. You’ve got a secret weapon: FREE software and templates that will leave people wondering which designer you hired to create such awesome-looking graphics.
Introducing the BeFunky design platform
Keep your money. Keep it simple. Use my favorite site for beginners, called BeFunky. Remember them from this post and this one too?
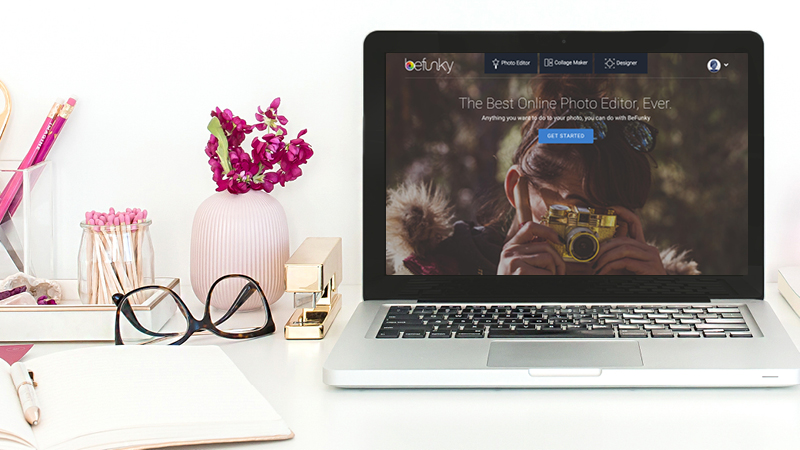
BeFunky is an all-in-one solution for shop owners, newbie designers, bloggers, and creatives. Here are all the cool things you can do, using their newly reimagined site:
1. Manipulate and prep your photos using their Photo Editor (alternative to Adobe Photoshop)
2. Create fun looking compilations using their Collage Maker
3. Design professional-looking print products and web graphics using their Designer (alternative to Adobe InDesign)
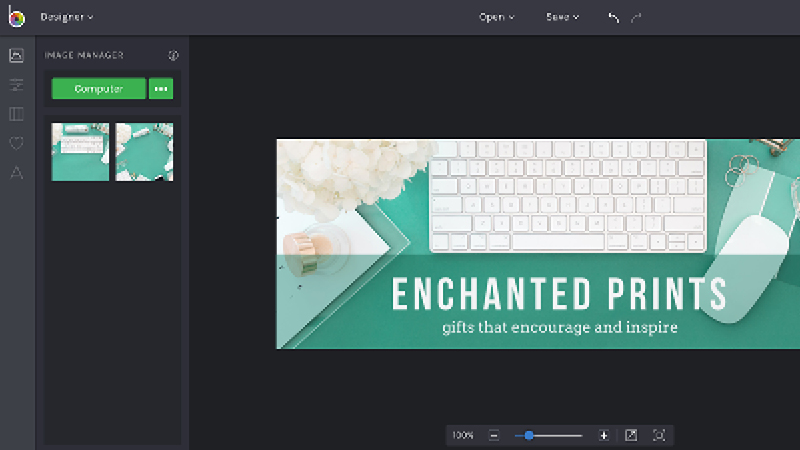
I was giddy when I saw all of the new features added to the BeFunky platform since the last time I used it. They incorporate functionalities used in expensive professional software (like autosave and drag and drop uploading) with user-friendly features, like an expanded graphics library and an image manager. With this new feature, you can upload your images once and then have access to them at any time you log onto BeFunky.
Get a head start with BeFunky Templates
I’m also blown away by their collection of new design templates, obviously designed by a team of top-notch graphic designers. Start with their templates, drag, and drop, add your creative touch, and end up with professional-looking graphics, without spending a dime.
In this post, we’ll be looking at my favorite mode: Designer. I’ll show you around the platform, and give you tips on how to create the items below so that your shop and brand will be looking professional in no time.
• Headers for Social Media ( for Etsy, FB, Twitter, YouTube)
• Social Media Graphics ( for FB, Twitter, Pinterest)
• Blog Graphics (Blog Images, Blog Titles, Step by Step, Infographics)
STEP 1: Just play
Once you see all of the options that are available to you, you’re going to go a little crazy, and possibly get overwhelmed by the possibilities. Don’t fight that feeling. Poke around, and take note of your favorite templates, colors, and fonts.
STEP 2: Narrow it down
Now that you’ve played around, it’s time to choose the fonts and colors that you feel best to represent your shop. Go with your first instinct. Know that you can always go back and change these. Fonts: choose one main font and two secondaries. Colors: choose one primary color and two secondaries.
That’s it! Don’t be tempted to stray from these. They will be the essential ingredients that give your brand a professional, cohesive look.
STEP 3: Create your first Header
If you have an online shop, let’s start with creating your shop header.
- In Designer mode, select “Templates>Social Media Headers>Etsy”. Choose any of the templates you’d like to act as your starting point. In this example, I’m using the first one (free).
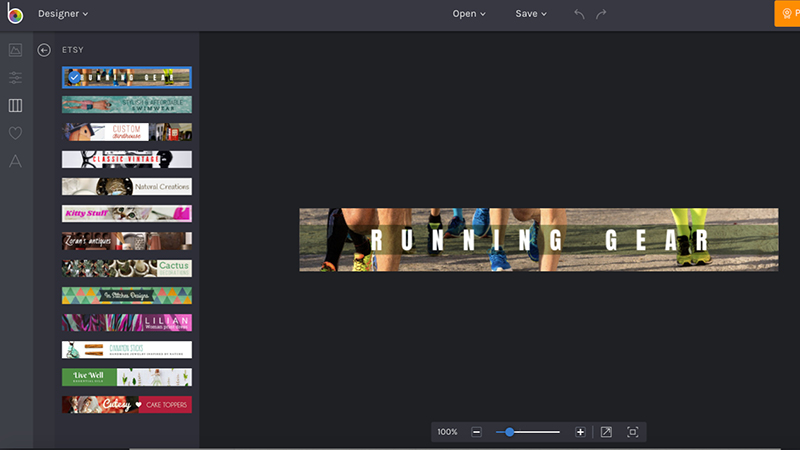
- Type in the name of your shop and change the font to the main typeface that you chose in STEP 2. In this example, I chose Bebas Neue.
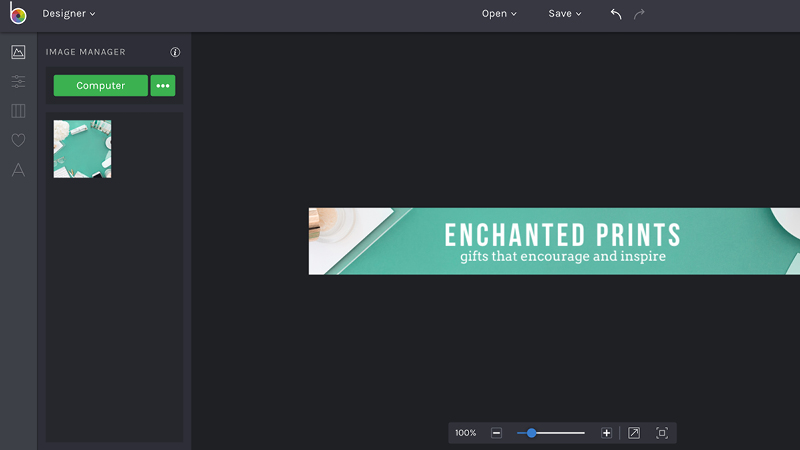
- If you’d like to add a tagline, select your main text box and click the “duplicate” button. Add your tagline text and change the font and size. The typeface I’m using for mine is Arvo.
- Replace the image with one of your own. I’m using one of the images that come with my HauteStock subscription. Hint: if you need to resize your image, you can do it right in BeFunky. Select your photo and click on the “Open Image in Editor” button to make changes.
If you’re looking for high-quality stock imagery, check out HauteStock and use code MICHELLE15 to save 15%. - Save to your computer. Upload to your shop page.
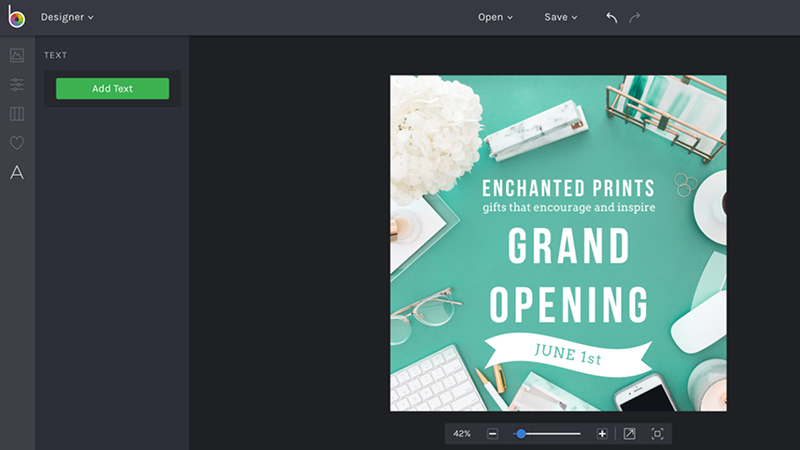
STEP 4: Create Social Media Graphics
You’ve got your shop artwork in place. Now it’s time to create a library of social media graphics that match your brand.
- In Designer mode, select “Templates>Social Media Graphics>Facebook”. You’ll be using these for both Facebook and Instagram. When you’re just starting, keep life simple and use them for Twitter.
- Choose the first template, or if you’re a BeFunky Plus member, select any of the other templates.
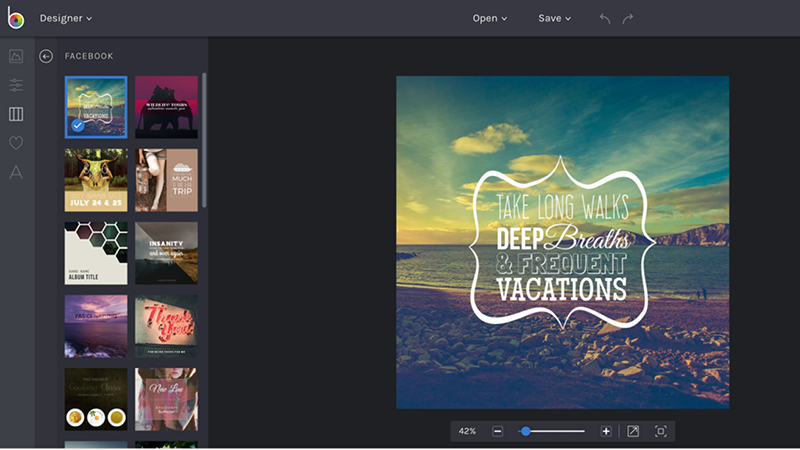
- Use the same fonts, graphics, and colors that you used in STEP 3, and adapt the graphic to promote whatever you’d like!
- Save to your computer. Upload to your social media platforms.
- Repeat these steps for any upcoming promos you have. If you have good-looking photos of your products, include them!
Once you have all of your social graphics created for one platform, recreate them for other social networks. BeFunky has templates sized for Facebook (square), Twitter, Google Plus and Pinterest.
Hint: You can create your social media headers, using BeFunky, too! They are already set up and sized to the exact dimensions you need for each platform. Find them under “Templates>Social Media Headers.” I’m using the Facebook-sized template in the example below.
STEP 5: Create Blog Graphics
Are you using a blog to support your shop? Here’s where you can create blog artwork that looks just as great as the social graphics you just created.
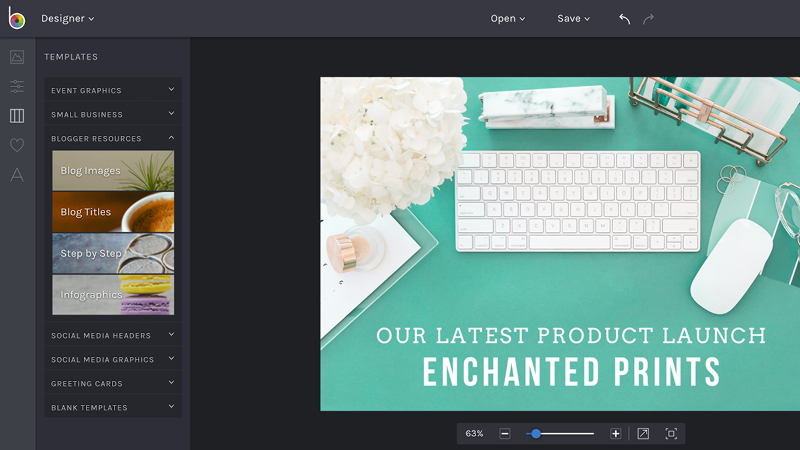
- In Designer mode, select “Templates>Blogger Resources>Blog Images”
- Choose the first template, or if you’re a BeFunky Plus member, select any of the other templates.
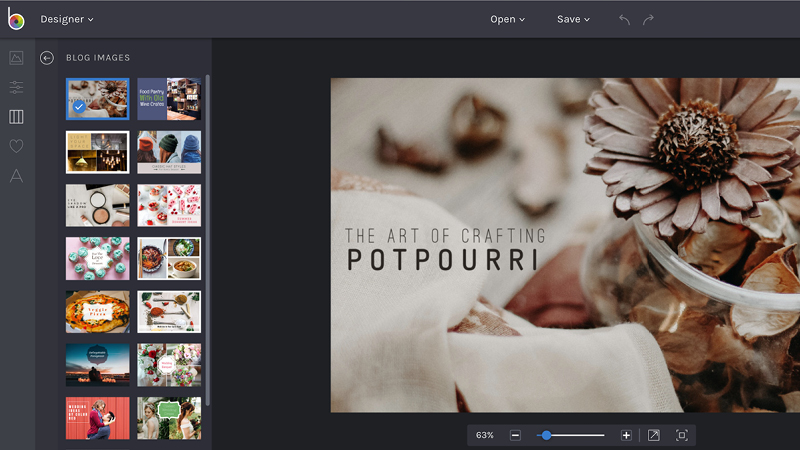
- You’ve got this down now. Use your brand fonts, colors, and artwork to create the title art for your blog post.
- Save to your computer. Upload to your blogging platform.
BONUS TIP
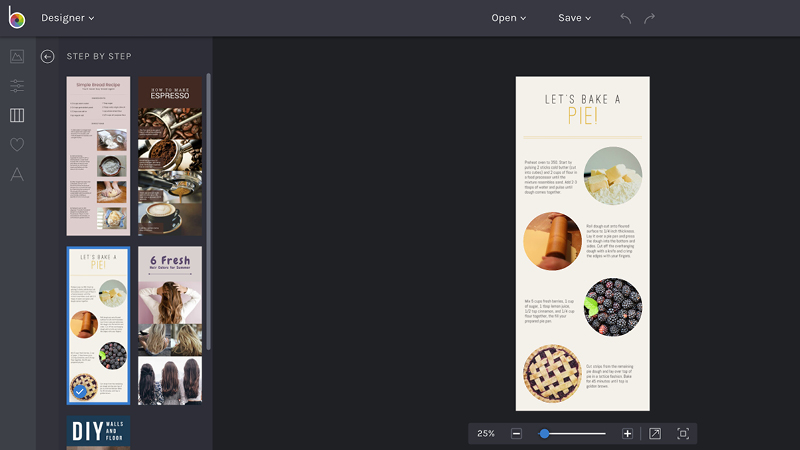
You can make your blog post even more dynamic by using BeFunky’s infographic or templates. Pinterest favors graphics like these, and including them in your posts will boost you in the algorithm and lead to more repins— which you know will lead to more people on your site and more sales.
Give your customers a dazzling first impression and a reason to keep coming back. Establishing a simple brand identity through consistent fonts, colors, and graphics across all of your visuals, using your secret weapon (BeFunky) will give you instant-professional status.
Ready to create professional graphics for your online shop?
I can’t wait to see what you create using this free, and fun-to-use platform. Show off your new creations on Instagram, and tag me (@michellehickeydesign) and BeFunky (@befunkyapp) so we can cheer you on!
This post on how to create professional graphics for your online shop has been sponsored by BeFunky and compensation was received for my time in developing the post. All thoughts, ideas & opinions are my own.
 Do you sell Printable Designs on Etsy?
If you’re wondering what types of printables sell best, you’ll want to check out my friends Julie and Cody’s free eBook, Seasonal Products Secret. Click here to download it for free.