This Chalkboard Lettering Made Easy post has been sponsored by Versachalk and compensation was received for my time in developing the post. All thoughts, ideas & opinions are my own.
Friends, it’s been a really long time since I’ve done any computer-free creative work, and to be honest, I wasn’t sure that I had it in me. But when Versachalk contacted me to see if I might be interested in trying out their chalkboard markers, the word “dust free” jumped out at me (translation = no mess) and I thought, “Okay, I can handle this.” If you’re new to the blog, just know that I’m not the most DIY savvy, nor do I like getting my hands dirty. Hence, why I stay on my laptop!
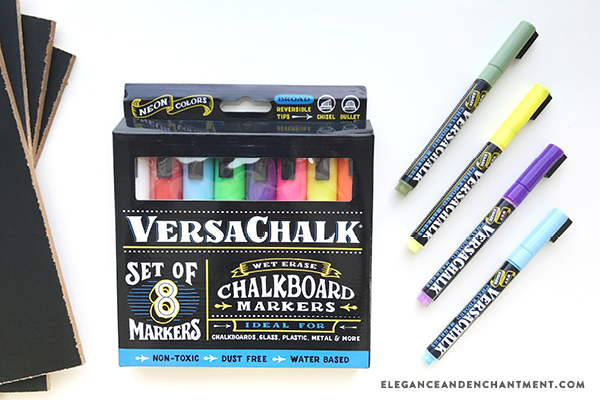
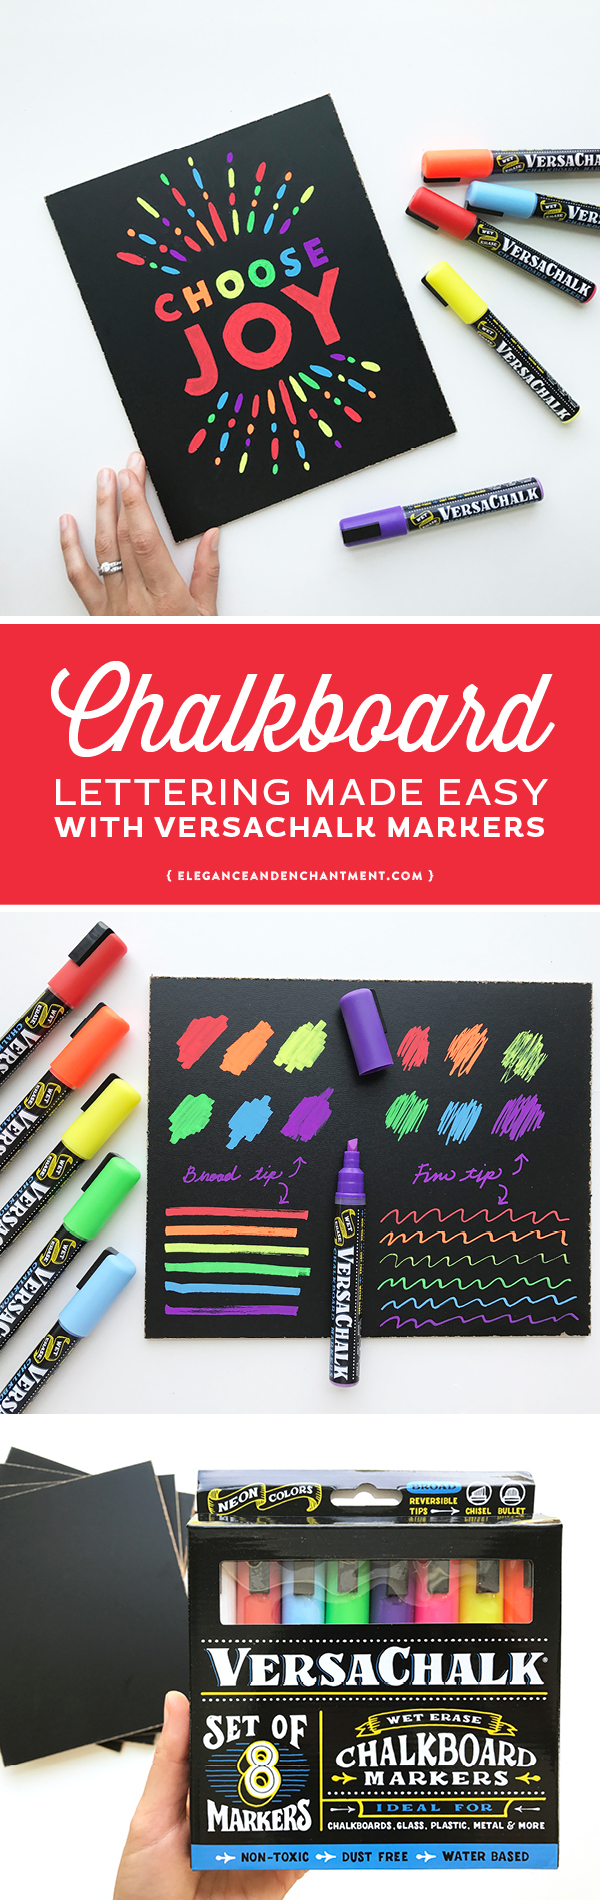
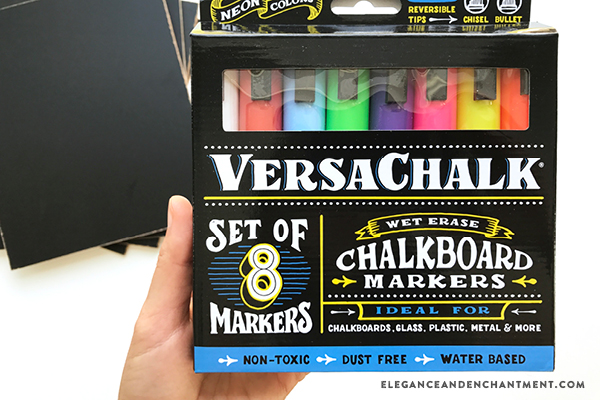
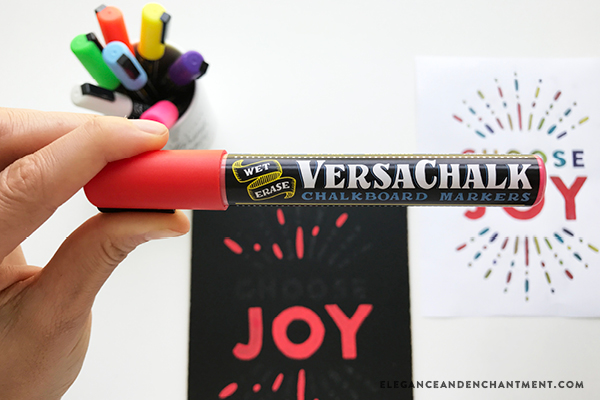
If the promise of an easy experience, didn’t grab me, the packaging would have! I’m a sucker for typography and the box that my Versachalk Chalkboard Markers came in got me excited and inspired to take them out and start creating, immediately.
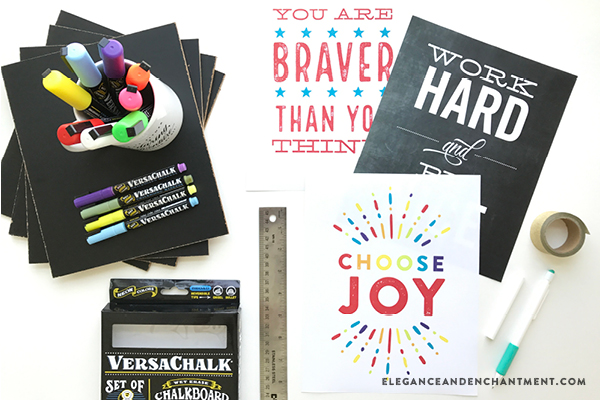
Since I was just getting back on the horse, I thought I should allow myself a test run before starting on my grand masterpiece. Plus I had about fifteen chalkboard panels to spare. While I had originally planned on using the framed chalkboard from this blog post but was unable to locate it, so I went to Home Depot and had them cut up a giant piece of chalkboard into 8 x 10 segments. Now, I’m set for life.
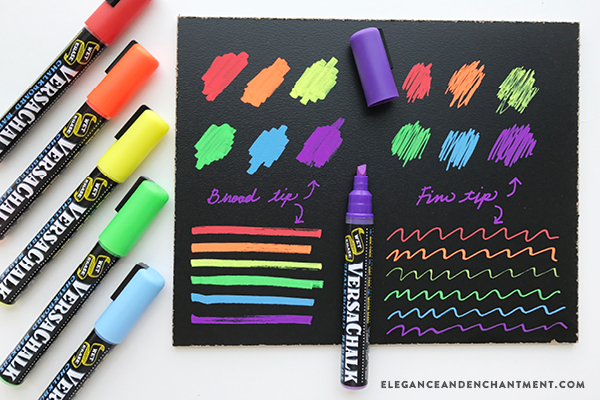
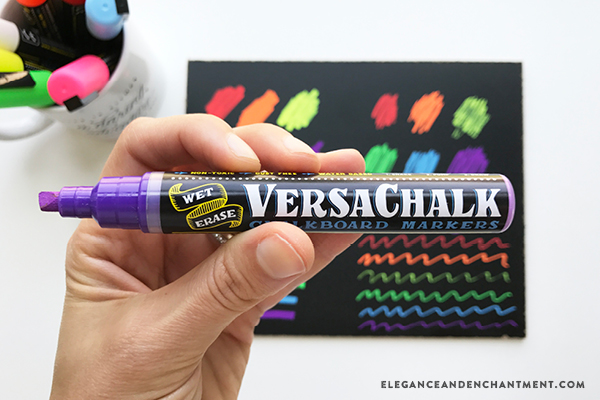
From the moment I put the tip to the board, I fell in love with these markers. The ink flowed smoothly and easily, and the finish looked more like paint than chalk.
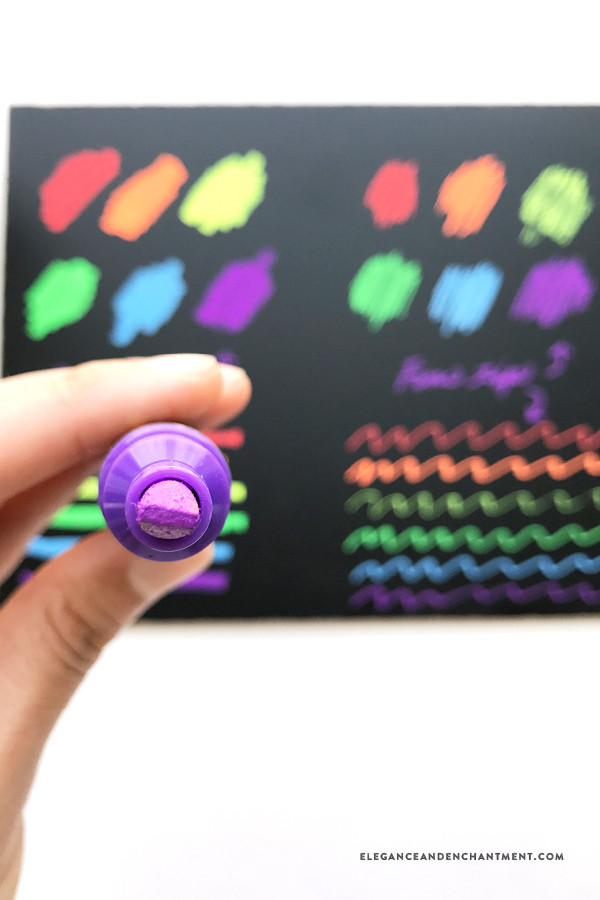
The colors were super vibrant— not the dull look that you expect to see on a chalkboard. I experimented with broad strokes and using the tip of the marker only, to create thinner strokes.
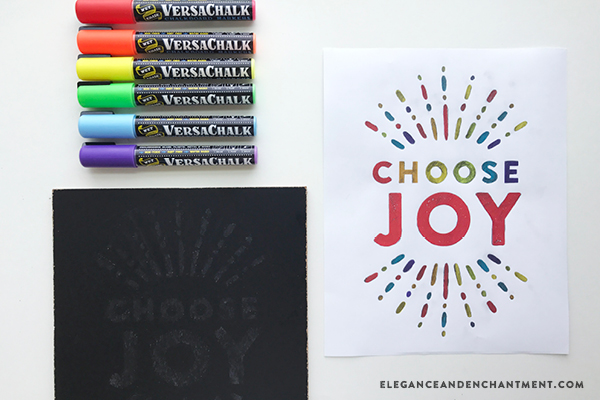
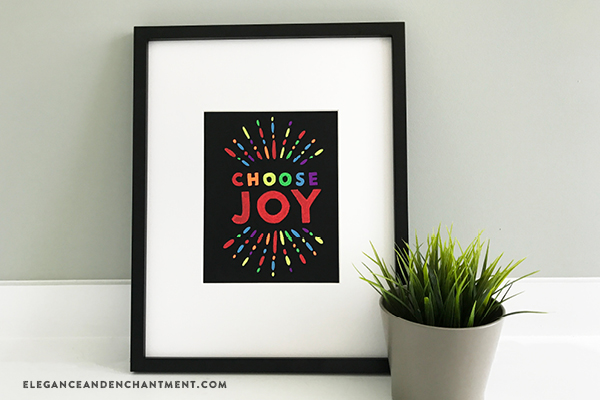
While my test board looked pretty on its own, my hand-lettering skills leave much to be desired, so I called in some help. I pulled three designs from my Enchanting Mondays Library that I thought would be easy to handle, and decided on the bottom option: “Choose Joy”.
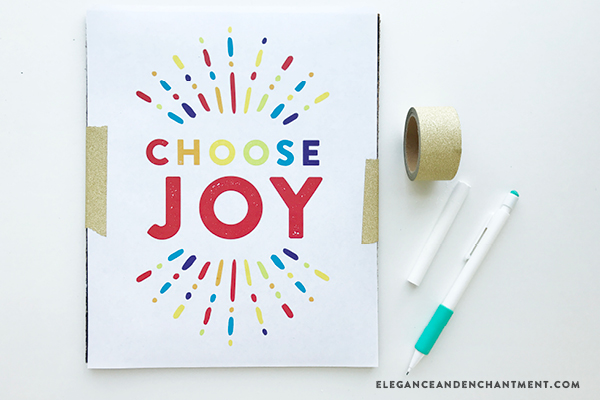
To transfer the design to the board, I rubbed some regular white chalk on the back of the art print paper and then taped it to the 8 x 10 chalkboard panel, using my favorite gold washi tape. Next, I went over every part of the design with a mechanical pencil.
The photo below makes the transfer look a lot more defined than it actually was. I ended up going in with a damp q-tip and removing a lot of the chalk residue that was on the board, so it was easier to see where I needed to apply the marker.
Now was when the fun began! I worked one color at a time, going over the designated areas with my Versachalk Chalkboard Markers. I was giddy with excitement to see this piece start to take life.
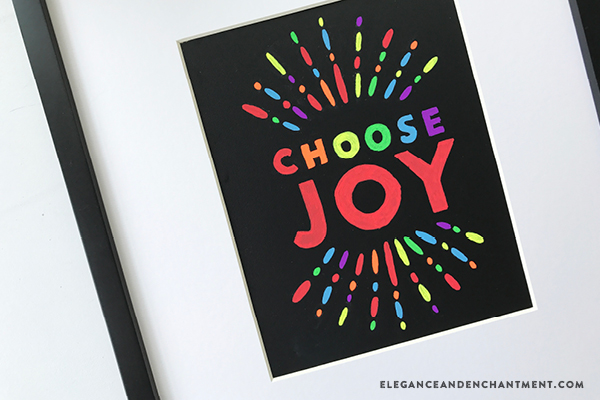
I continued with each different colored marker until everything had been traced over. My lettering, even with tracing, was not pristine, but I still got a big smile on my face when I saw the finished product. How bright + beautiful!
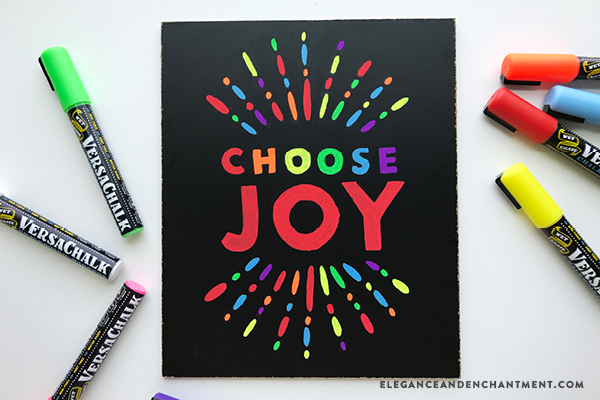
I should also mention that I accidentally applied the wrong colors in a couple spots in the burst area of the design. No worries at all. I went in with that q-tip again, erased, and applied the proper color. The erasable factor in these markers means you never have to worry about making a mistake. The next best thing to “command + z” (undo). { wink }
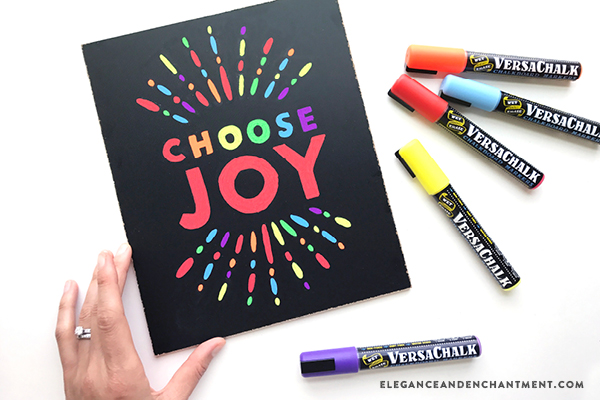
I placed my chalkboard panel in a simple frame with white matting to really make sure it would pop, and shine it did! The creative wheels starting turning in my head as I thought of all the possibilities in creating new chalkboard artwork for our home and all the people who would appreciate one as a gift.
Don’t let the “chalk” in Versachalk deceive you— these markers can be used on a variety of surfaces, including glass, plastic, and metal. Their non-toxic nature means they are perfect for the kiddos, too!
Versachalk, you certainly made a believer out of this gal. I can DIY after all.
We would love to see you create your own masterpieces using Versachalk Chalkboard Markers! Show off your projects on Instagram and be sure to tag us using #enchantedprints and #versachalk, so we can have a peek at what you’ve come up with!

This post contains affiliate links. If you purchase through these links, you’ll help support Elegance & Enchantment, and you’ll receive some amazing stuff, too. Whohoo!